Step 1: Get the Plugin Installed
Download and upload the plugin
▶ Listen to this article
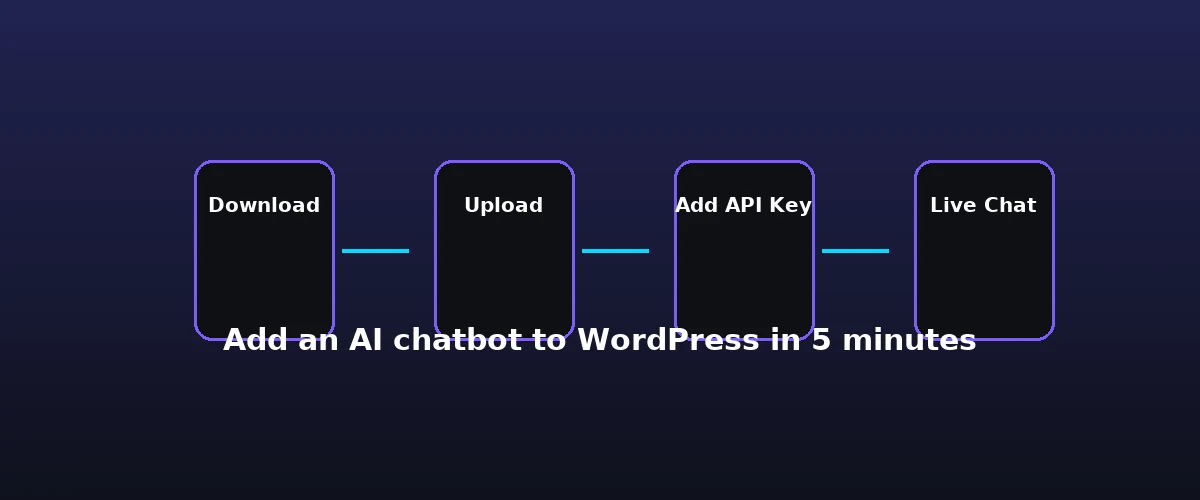
This guide shows you exactly how to add an AI chatbot to WordPress in five minutes. To add chatbot to WordPress and go live fast, follow the steps below. You have a WordPress dashboard open, a cup of coffee, and a goal: put a functioning AI chatbot on your site before your break ends. This is not a theoretical exercise. We are going to install YakWP, configure your connection to an LLM, and verify the lead capture flow in real-time. Start by heading over to the official YakWP download page to grab the plugin ZIP file. Do not worry about searching the WordPress repository; this plugin is built as a direct-download tool to keep the architecture lightweight and your server logs clean.
Once the file is on your computer, log in to your WordPress admin panel. Go to Plugins > Add New > Upload Plugin. Drag your YakWP ZIP file into the installer and click Install Now, followed by Activate Plugin. At this precise moment, you have successfully deployed the infrastructure. You are now ready to hook up the intelligence layer.
Step 2: Connect the Brain — Add Your API Key
Your WordPress site needs a brain to process natural language. YakWP is an interface, not the model itself, which is why it requires a “Bring Your Own Key” (BYOK) setup. This approach is superior because you only pay for what you use, rather than paying a flat subscription fee to a middleman. For most users, Google Gemini is the best starting point because their free tier allows for 500 requests per day—more than enough for a typical small-to-medium business site.
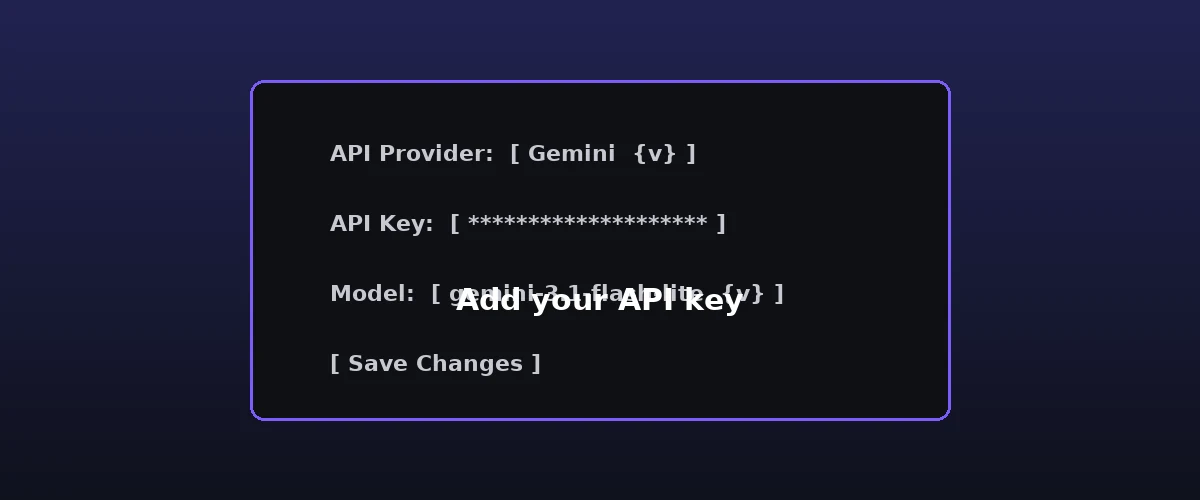
Where to get your API key
Navigate to the YakWP settings menu in your sidebar. You will see a dedicated field for your API provider. If you choose Gemini, go to the official Google AI Studio portal, generate a free API key, and paste it directly into the input field in your WordPress dashboard. Hit Save Changes. The plugin will immediately verify the connection. If the status light turns green, your site is now talking to a top-tier AI model. No middleware, no secondary accounts, just a direct line from your server to the AI provider.
Step 3: Configure the Chat Mode
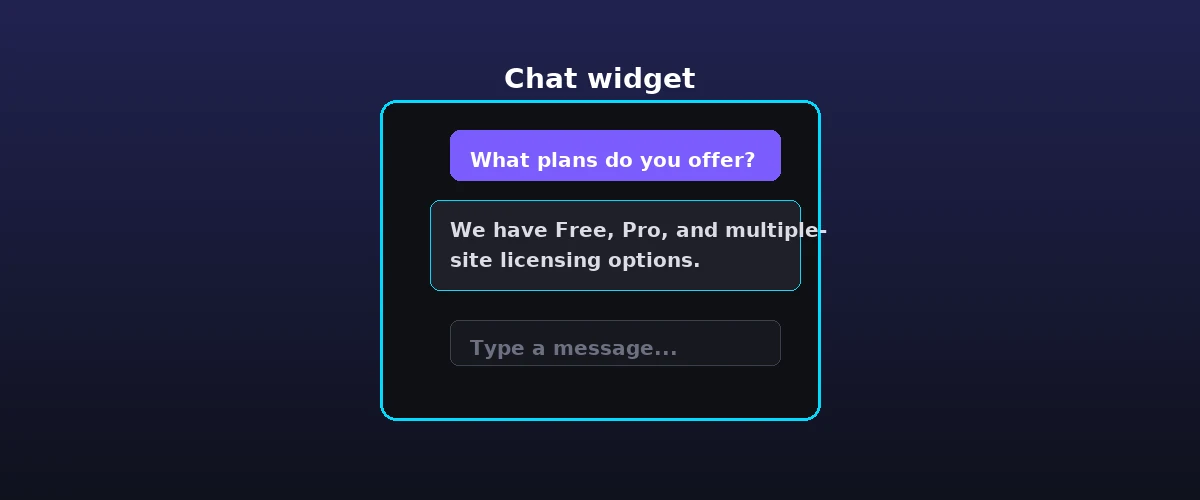
Pick the mode that fits your goal
An AI is only as useful as its instructions. In the Modes tab of the YakWP settings, you will see four presets: Sales, Support, Explain, and Custom. If you are running an e-commerce store, select Sales. This mode is fine-tuned to recognize buying intent. When a visitor asks about your pricing or product availability, the AI won’t just ramble—it will look for an opportunity to capture their email address. This is the “Lead Capture” feature in action, which automatically triggers a prompt for the user’s contact information when it detects a high-intent inquiry.
If you prefer a more technical approach, select Support. This tells the AI to prioritize your site’s existing posts and pages as the knowledge base. YakWP uses RAG (Retrieval-Augmented Generation) to search your internal database before answering. This means your chatbot won’t hallucinate; it will pull answers directly from your specific blog content, product descriptions, or documentation pages. Once you pick the mode, the chatbot is live on your front end.
Step 4: Automate Your Workflow with Webhooks
What the webhook sends
The true power of a self-hosted AI is what happens *after* the conversation ends. In the Integrations tab, you will see a field for Webhooks. This is where you connect your chatbot to the rest of your business. If you use n8n, Zapier, or Make, simply paste your webhook URL here. Every time a visitor interacts with the chat, YakWP will bundle the conversation data—including the visitor’s original message, the AI’s response, their captured email address, the specific page URL they were viewing, and a timestamp—and send it to your chosen platform.
This allows you to automate follow-up emails, update your CRM, or add them to a lead sheet. For a full walkthrough of the workflow side, read our guide to using a WordPress chatbot with n8n to automate your leads, or this breakdown of how chatbot webhooks work. If you already have the free plugin running and want more control, our YakWP free vs pro comparison shows what the upgrade adds.leads to a Slack channel the moment they engage with the site. Because the data originates from your own WordPress database, you have complete control over retention. You can set the plugin to keep logs for 30 days, 90 days, or indefinitely, ensuring your GDPR compliance is managed exactly how you define it.
Step 5: Customize It for Your Brand
By default, the free version of YakWP displays a professional, clean “Powered by Yak” branding. This is a functional, fully-featured AI assistant that gives you the same RAG capabilities as the premium version. However, if you are building an agency site or a high-end corporate presence, you may want to remove that branding or adjust the styling to match your theme perfectly. For those who need complete design control, you can check out the YakWP pricing page to upgrade to the Pro version.
Upgrading gives you three specific, non-negotiable advantages for professional sites:
- White-labeling: Remove all “Powered by Yak” references for a seamless, branded experience.
- Custom CSS: Apply your exact brand colors, fonts, and widget positioning without touching a line of core code.
- Exportable Data: Pro users can export entire conversation histories to CSV files, which is essential for auditing, training, or manual lead processing.
Rate Limits, Security, and Going Live
Security is the silent killer of many chatbot implementations. Because you are using your own API key, you need to ensure no one is spamming your bot to inflate your costs. YakWP includes built-in rate limiting. You can define how many messages a single user can send within a specific timeframe. This prevents automated bots from exhausting your free API quota, keeping your site fast and your budget predictable. It is a set-and-forget security layer that protects your server resources while keeping the user experience frictionless for actual humans.
The entire process—from download to a live, branded AI assistant with an active API key—usually takes about five minutes. That is the practical, no-developer way to add chatbot to WordPress. The result is a fully self-hosted assistant that answers using your own content, keeps your data on your server, and costs nothing beyond the API usage. For the wider picture of what a chatbot does and why it matters, start with our what is an AI chatbot guide, or think about why bring-your-own-key matters for a self-hosted setup.webhook automation—takes roughly five minutes if you have your API key ready. You are not building a complex integration; you are simply flipping a switch on an existing, high-powered engine that lives entirely within your WordPress ecosystem. By keeping the RAG search local to your database and your chat logs inside your own SQL tables, you avoid the privacy trade-offs that usually come with third-party widgets.
FAQ
Do I need to pay for a subscription to use the AI features?
No. YakWP is designed to use your own API key from providers like Google Gemini or OpenAI. You only pay the provider (like Google or OpenAI) directly based on your usage. If you stay within the free tiers provided by those services, your chatbot costs you nothing in recurring monthly fees.
Does the chatbot slow down my website speed?
Because YakWP is self-hosted, it does not load heavy external scripts from a third-party chat provider’s platform. The chat widget is optimized for WordPress, and all processing is handled by the API communication, ensuring your site’s PageSpeed scores remain high and your core web vitals are not negatively impacted.
Can I use the free version for a business website?
Yes. The free version is fully functional. It includes RAG search of your own content, lead capture, and webhook integration. The only difference between the free version and the Pro version is the presence of “Powered by Yak” branding, the ability to remove that branding, and the inclusion of advanced features like CSV exports and custom CSS editing.
What happens to my data if I uninstall the plugin?
When you uninstall YakWP, your conversation logs remain in your database until you delete them or choose to clear your plugin data. You own your data entirely. Because the plugin is self-hosted, you can back up your database at any time and retain a full copy of every interaction your visitors have had with your chatbot.
Leave a Reply